 Finally, I finished the Kentucky chair project. It took me some weeks of elapsed time, but now it’s done. The guy must wait for the next summer, though, as it is meant to go on my balcony. Maybe I keep it in my living room for a little while, just to have the fruits of my hard labor displayed for deep satisfaction 🙂 Find the instructions in the post.
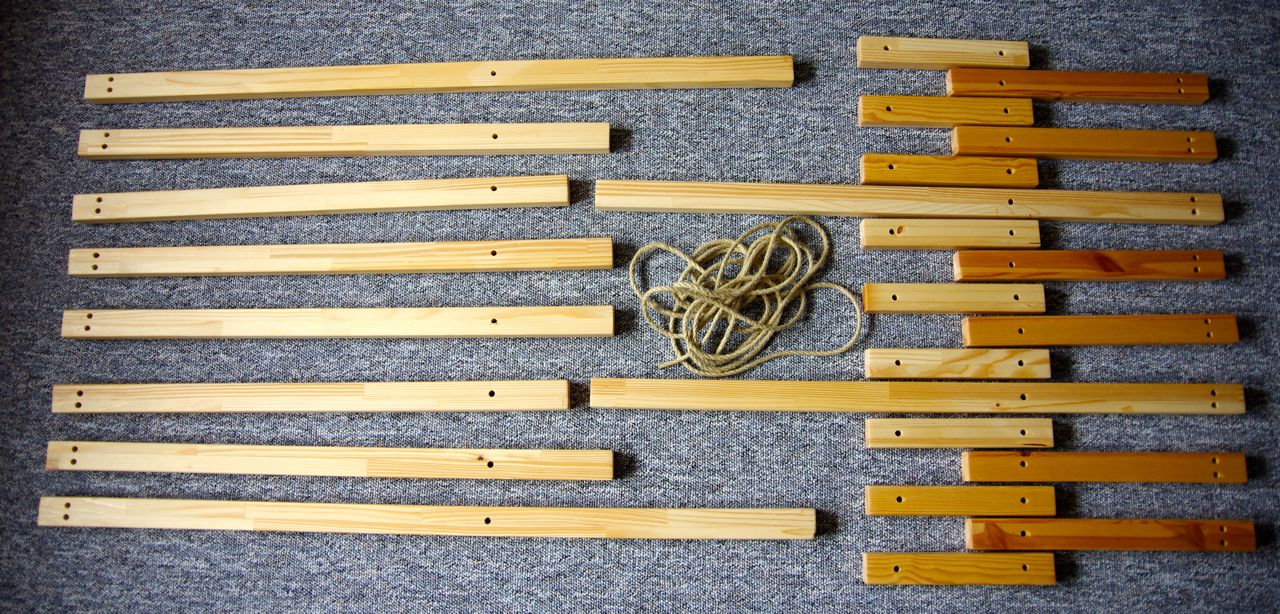
Materials: You will need a few wooden strips – following the measurements listed in the table below. The cross section of the strips should be 2,8 cm x 3.8 cm, maybe two mm more if your materials are a little different. For assembly, some 6 mm thick hemp rope, approximately 5 m. Finally, scumble to protect the wood.
Tools: Circular saw (or a carpenter who cuts the wood strips for you, or a hand saw if you buy the wood strips in standard lengths from the craft shop), sand paper (or a sander), drilling machine and 8 mm drill bit for wood, brush for painting the wood.
How to make it:
Cut the pieces of wood following the list given below (name of the piece, number you will need, length in cm).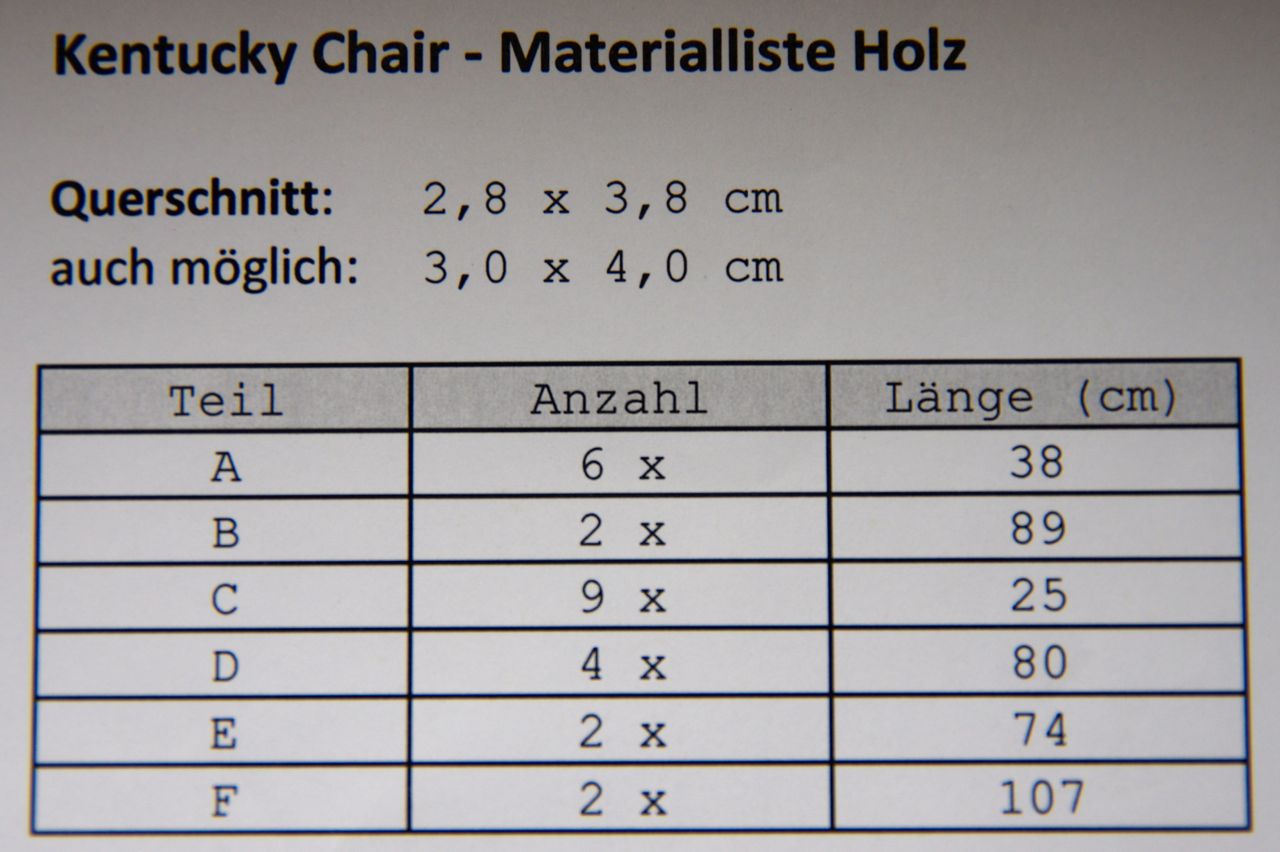
Sand the pieces until smooth, smooth the edges.Then drill the holes as described here and shown in the picture(s) below. But don’t forget to paint the wood with the scumble for protection first and let dry throughoutly.
This picture shows the overall layout of the chair for assembly.
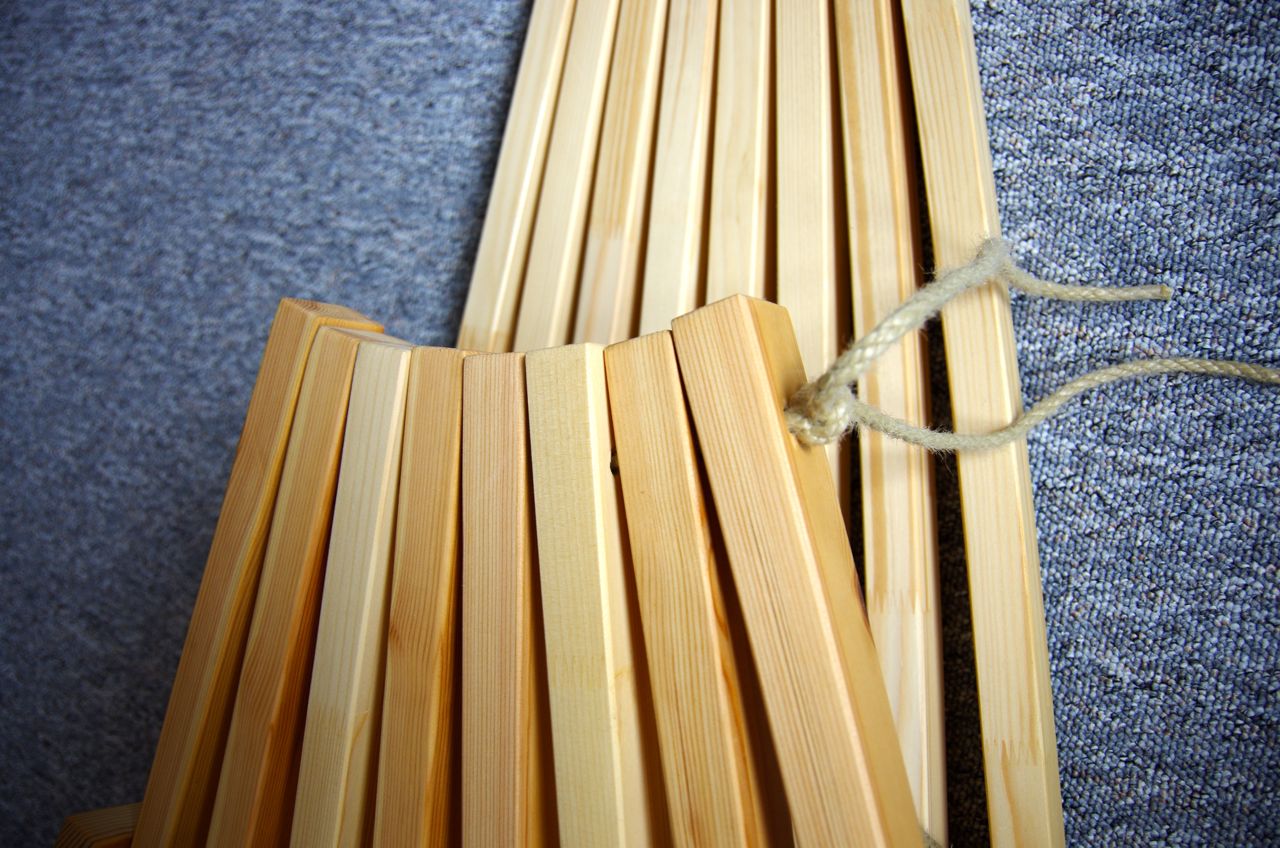
The pieces D, E, F will be the back rest of the chair (laid out on the left side of the picture). They will have double holes (i.e. two holes positioned side by side) at 3,8 cm from the end of the strip and one single hole at 63,5 cm, measured from the same end.
Here is the back rest, sequence: F-D-E-D-D-E-D-F.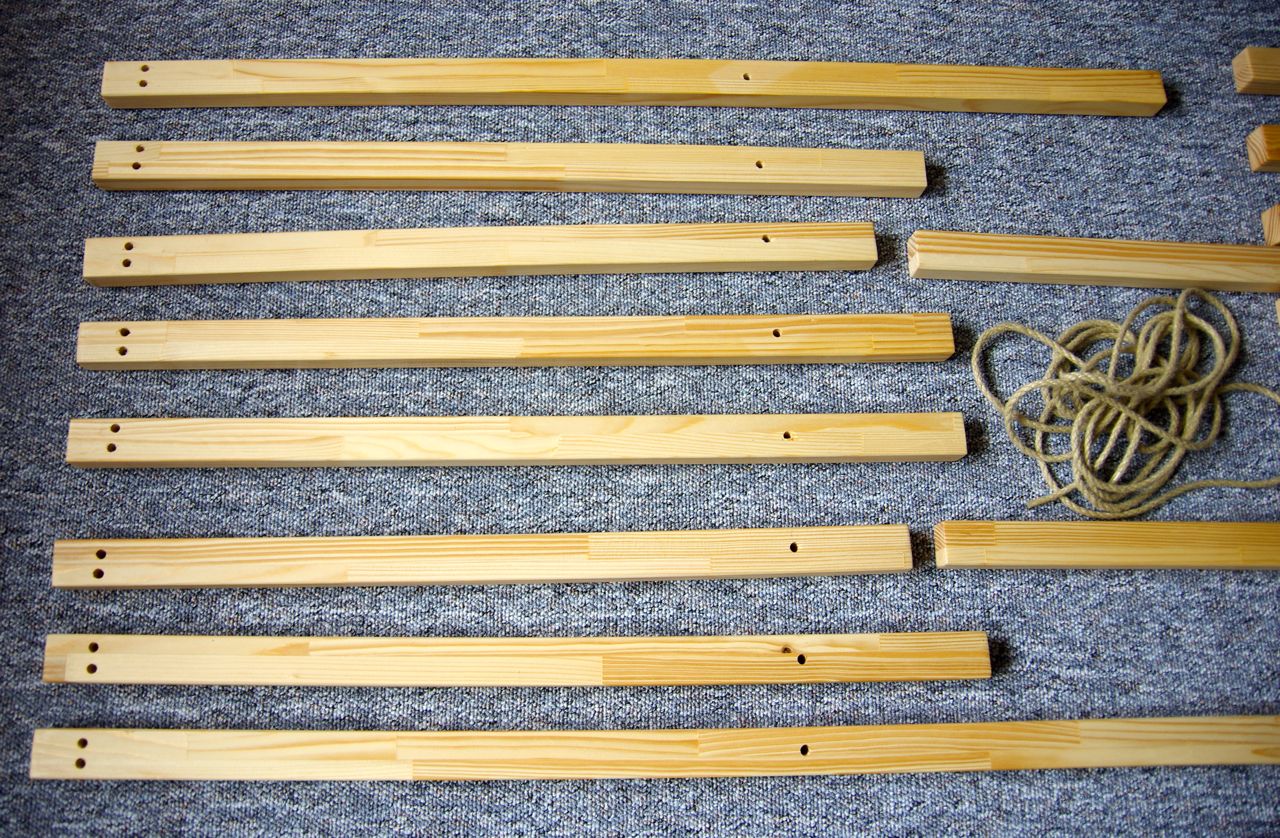
The pieces A, B will be the seat (shown at the very right of the picture). They have a double hole at 3,8 cm and a single hole at 24,5 cm, measured from the same end.
The piece C will be the connector of back and seat (shown at the right-ish side of the picture, laid out alternating with the seat strips). They will have single holes at 3,8 cm from both sides of the strip.
Here is the seat and the connectors, sequence: C-A-C-A-C-B-C-A-C-A-C-B-C-A-C-A-C.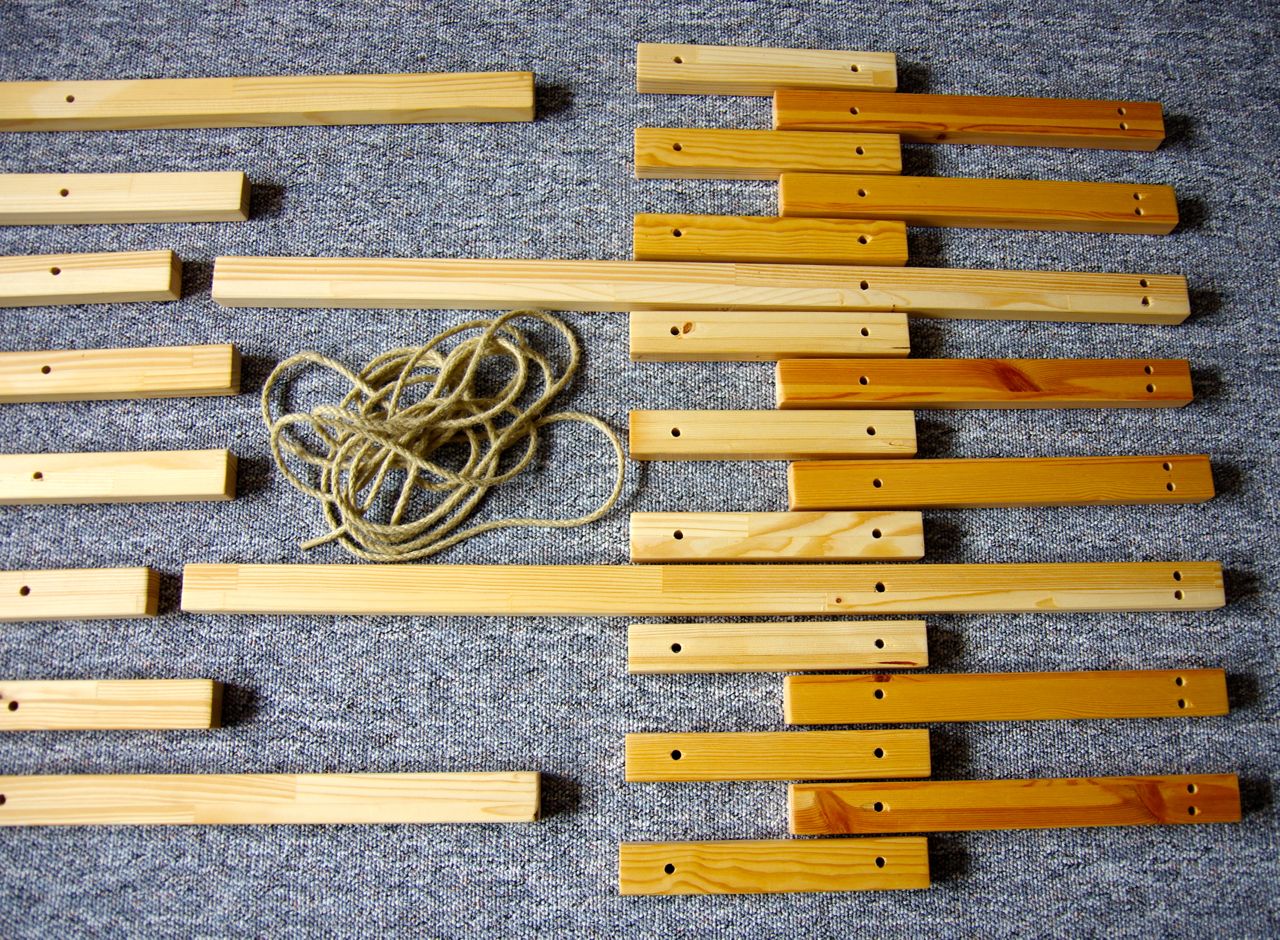
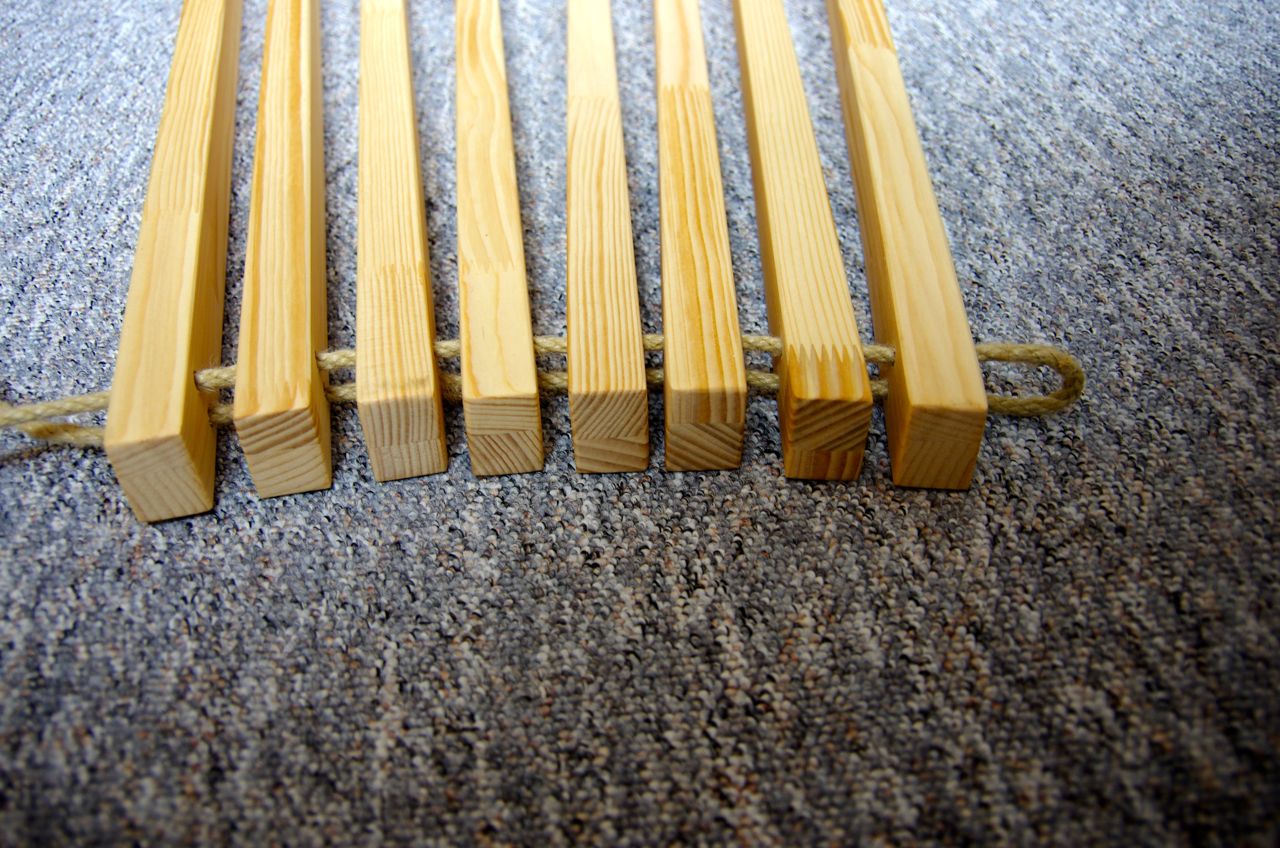
Assembly is easy. You thread the hemp rope into the drilled holes, starting with the connectors and the seat pieces as shown here.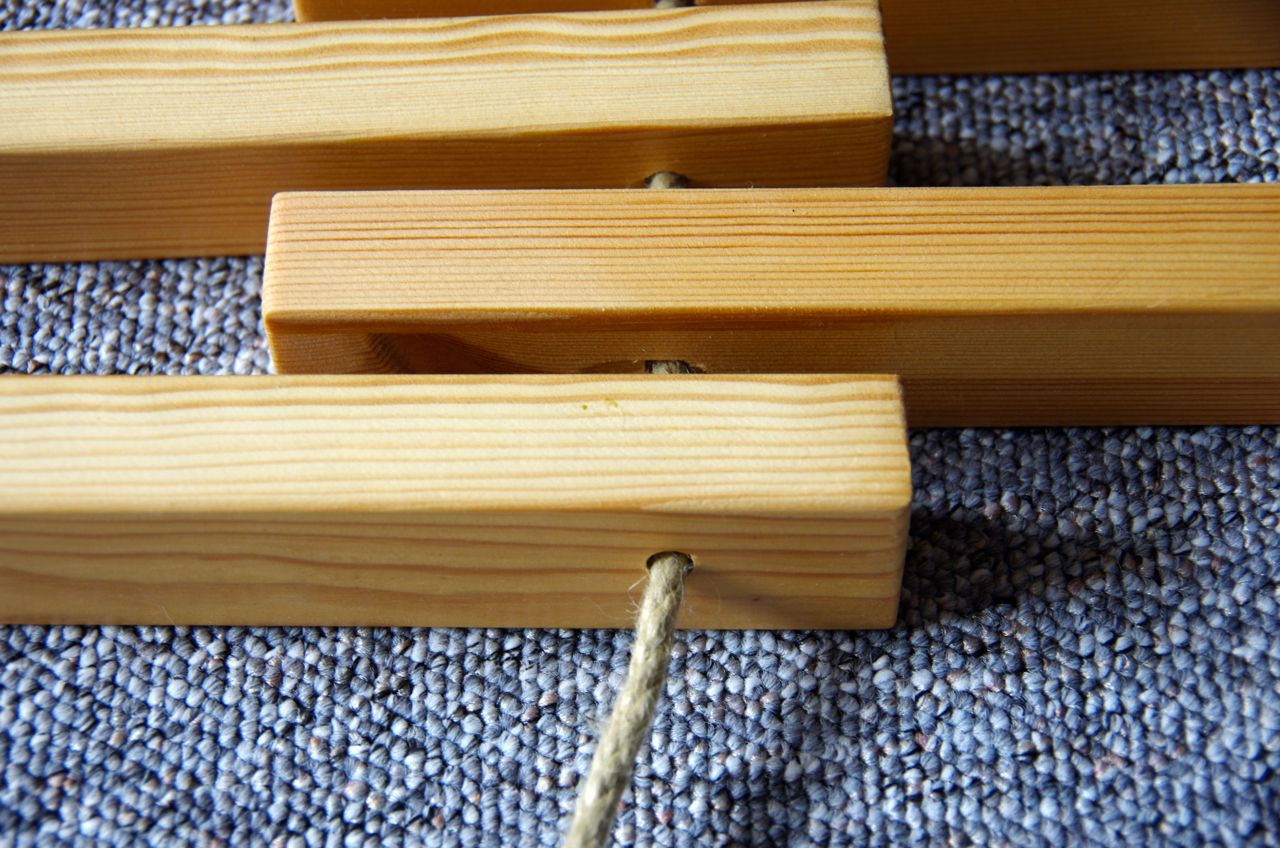
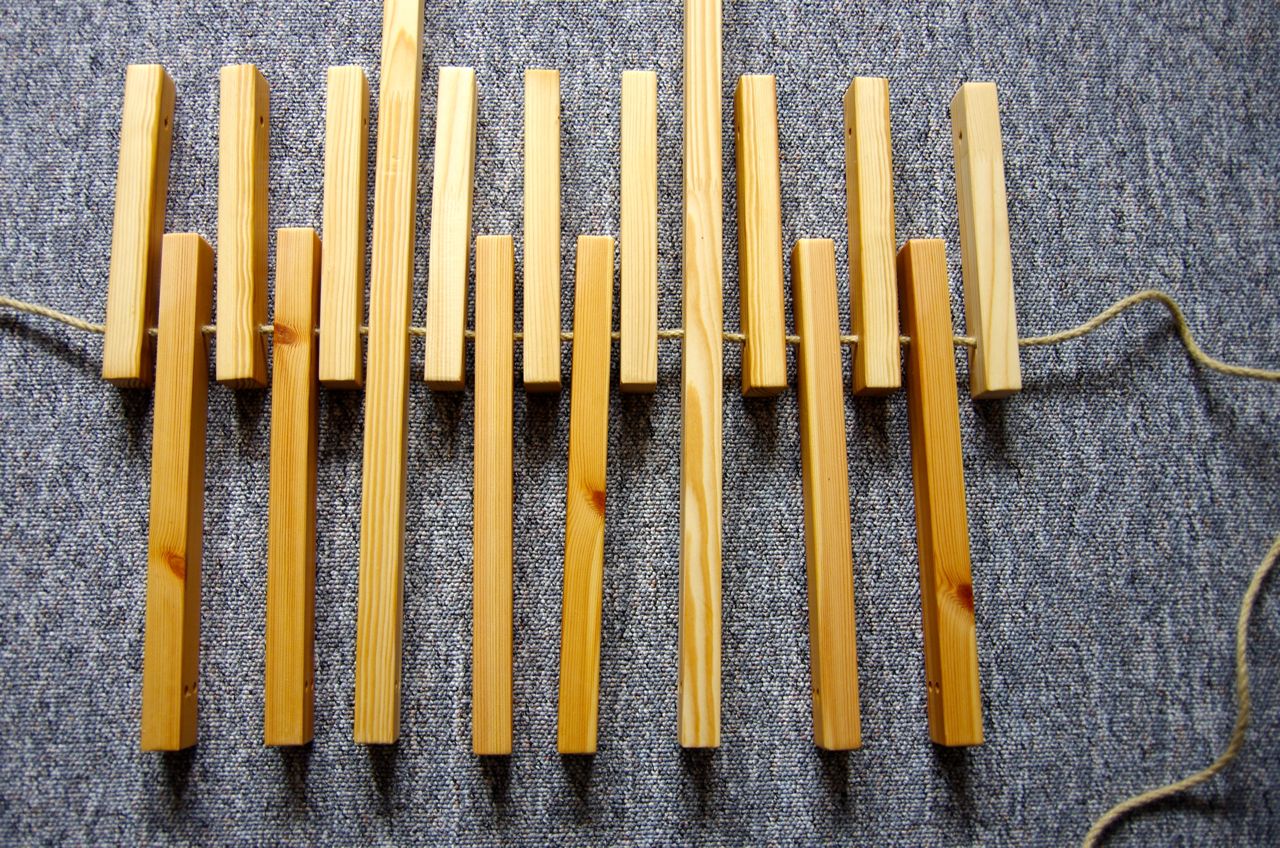
Pull tight if you are done.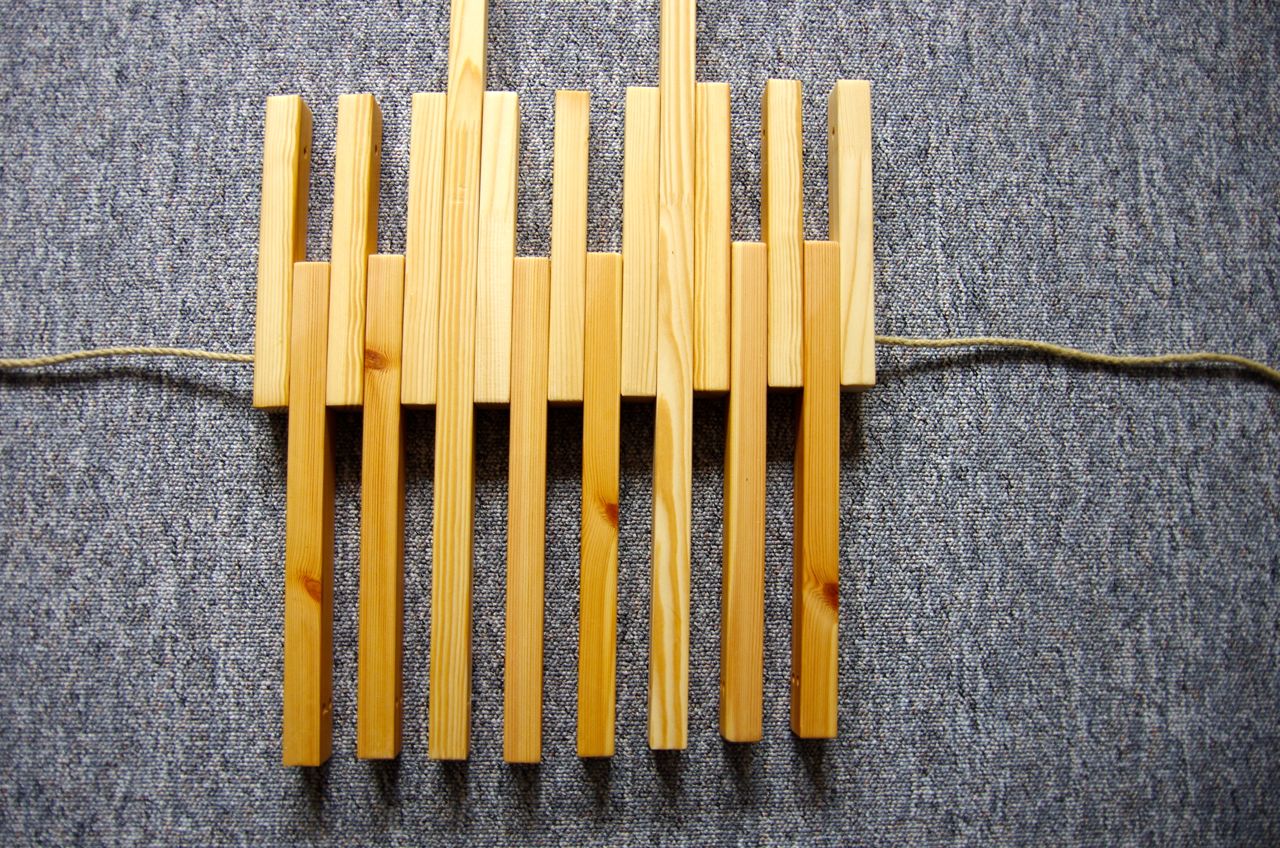
Next, you thread the double holes of the seat pieces, starting with one line (e.g. the down-facing holes).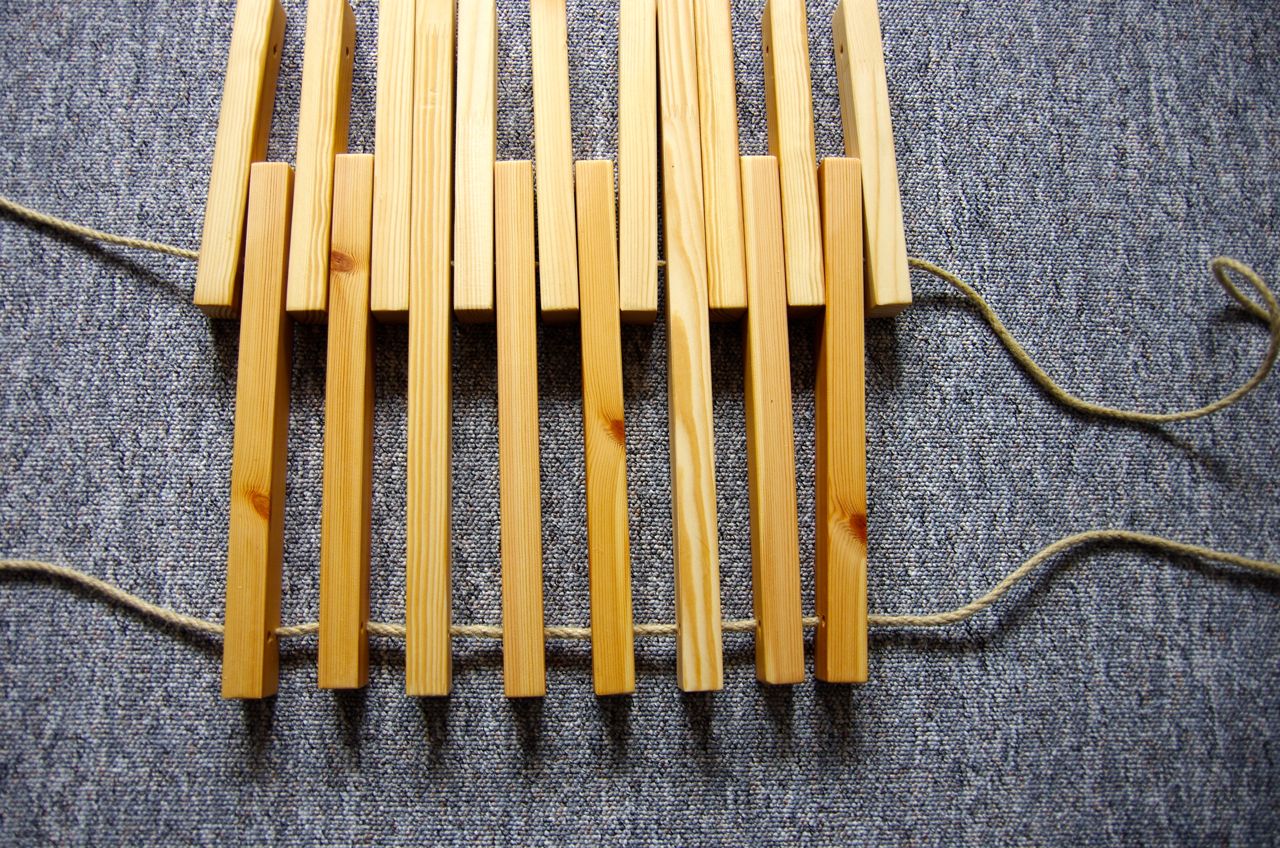
At the end, turn and continue threading the other line of holes (in this case, the upward facing ones).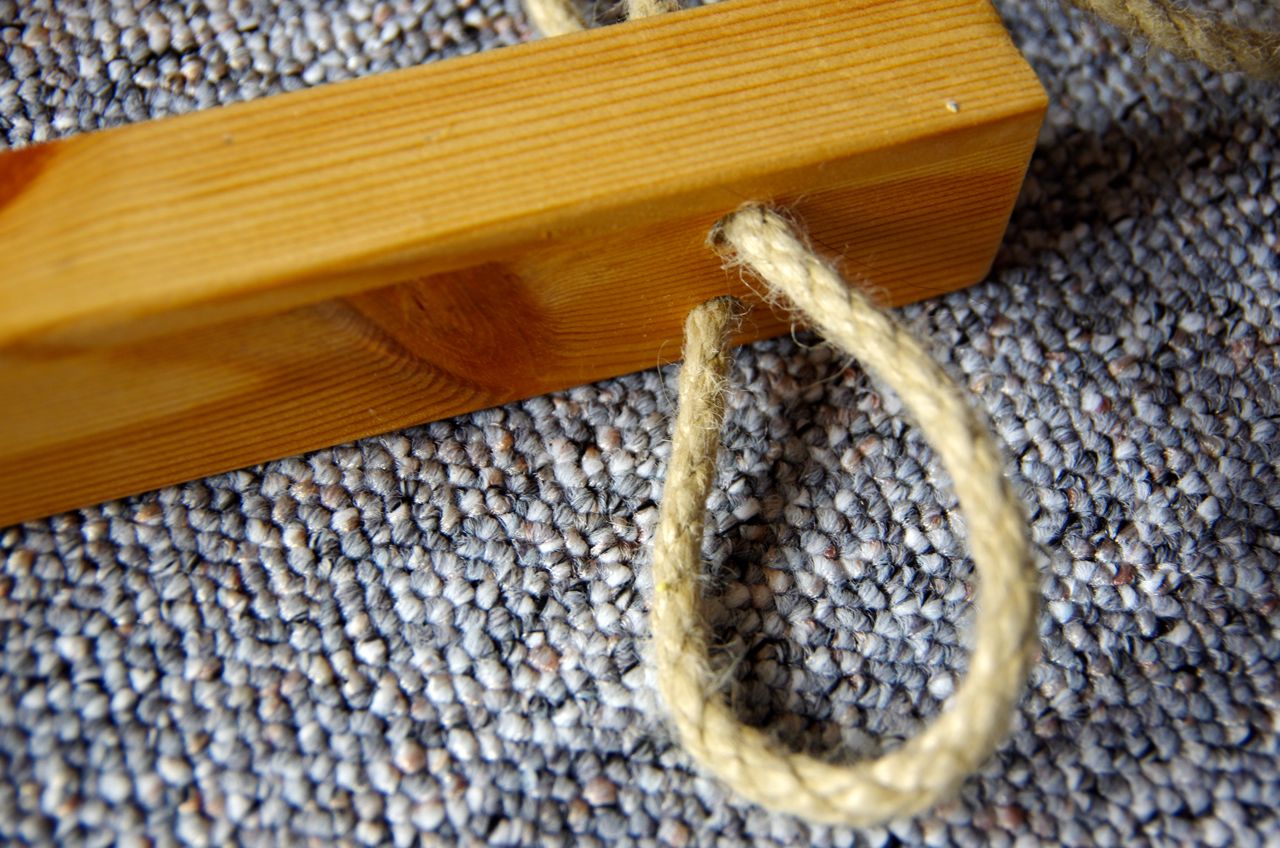
Looks good if it looks like this.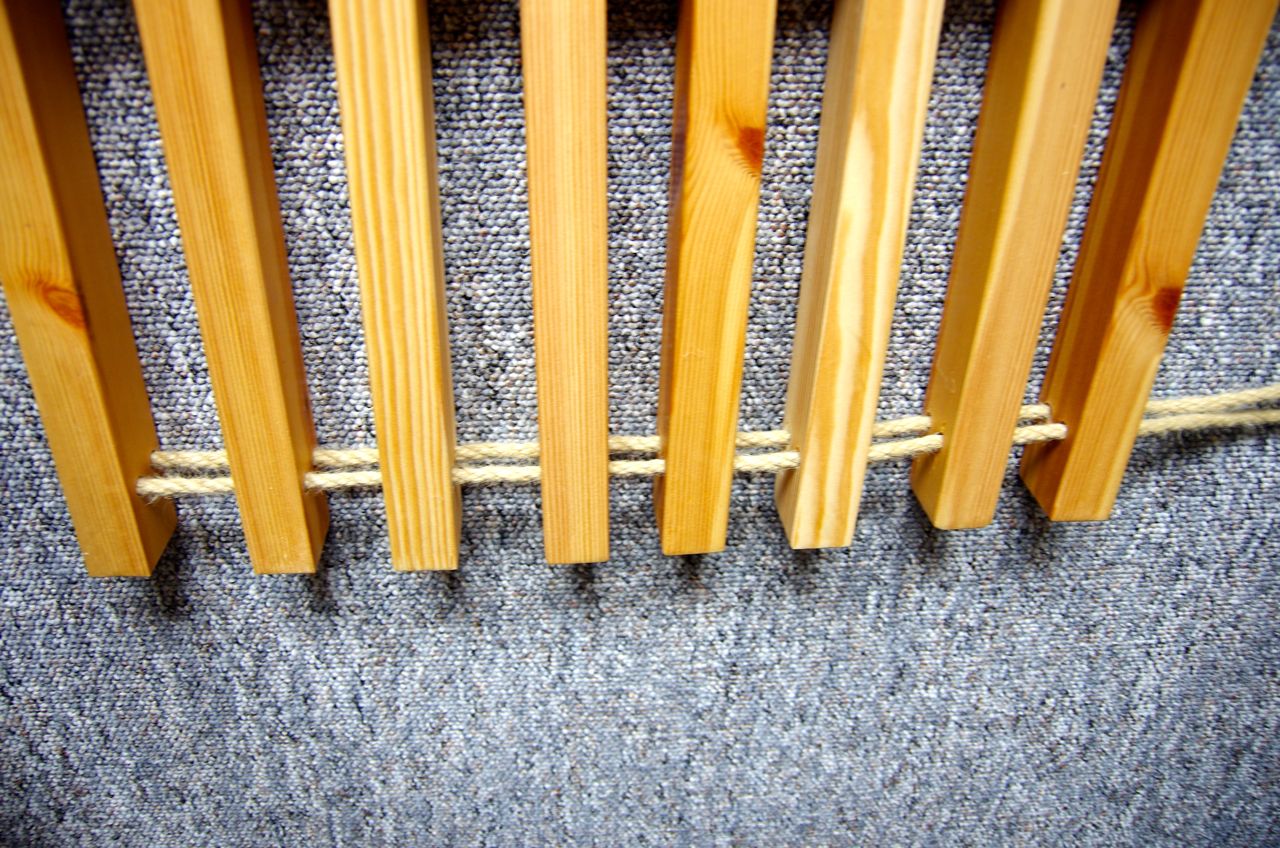
Now, continue with the back rest, starting with the double holes.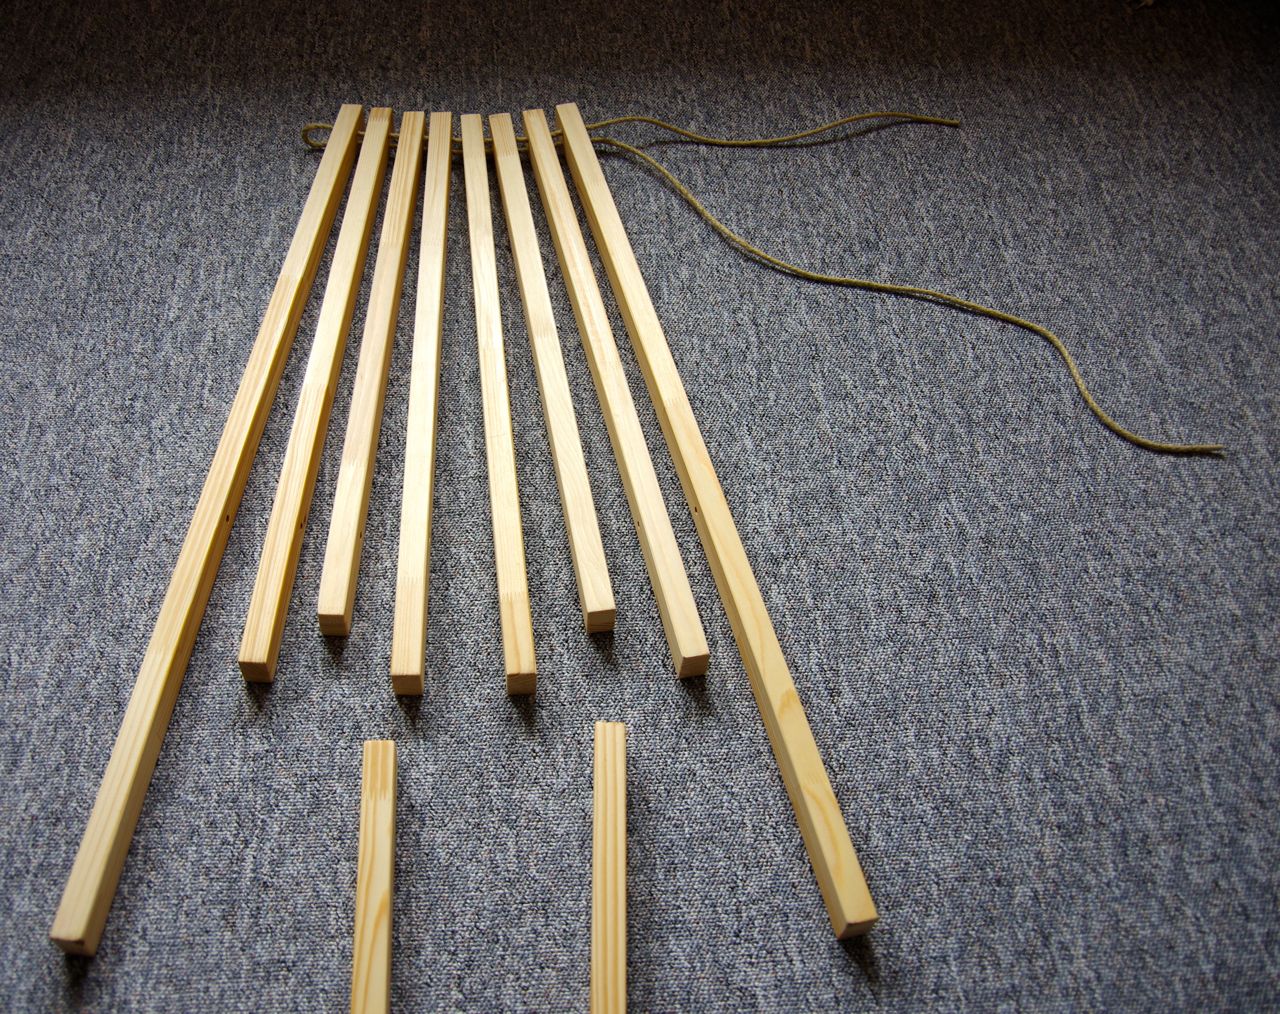
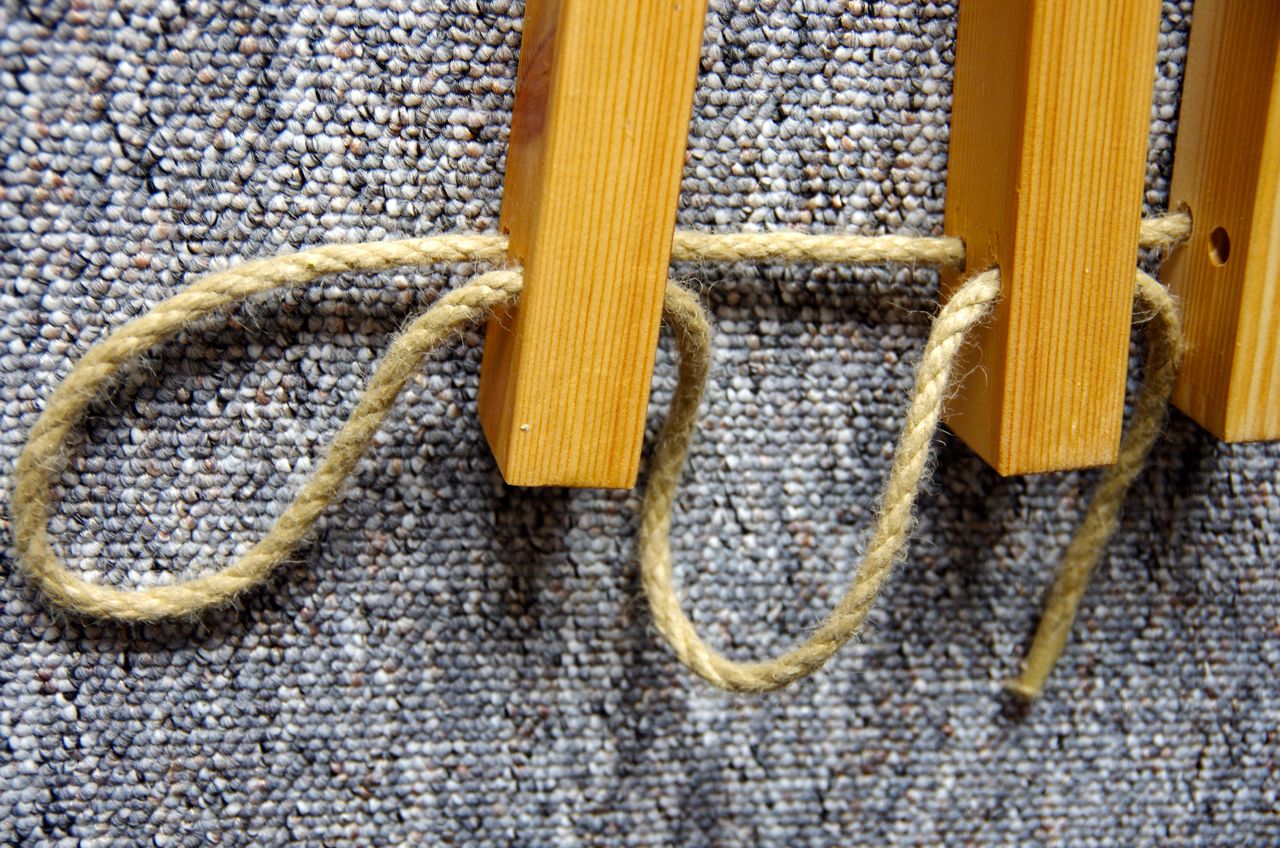
Now, it’s getting messy and interesting. Flip the back rest over (virtually “fold” the chair) until the single holes of the back pieces and the free holes of the connectors line up.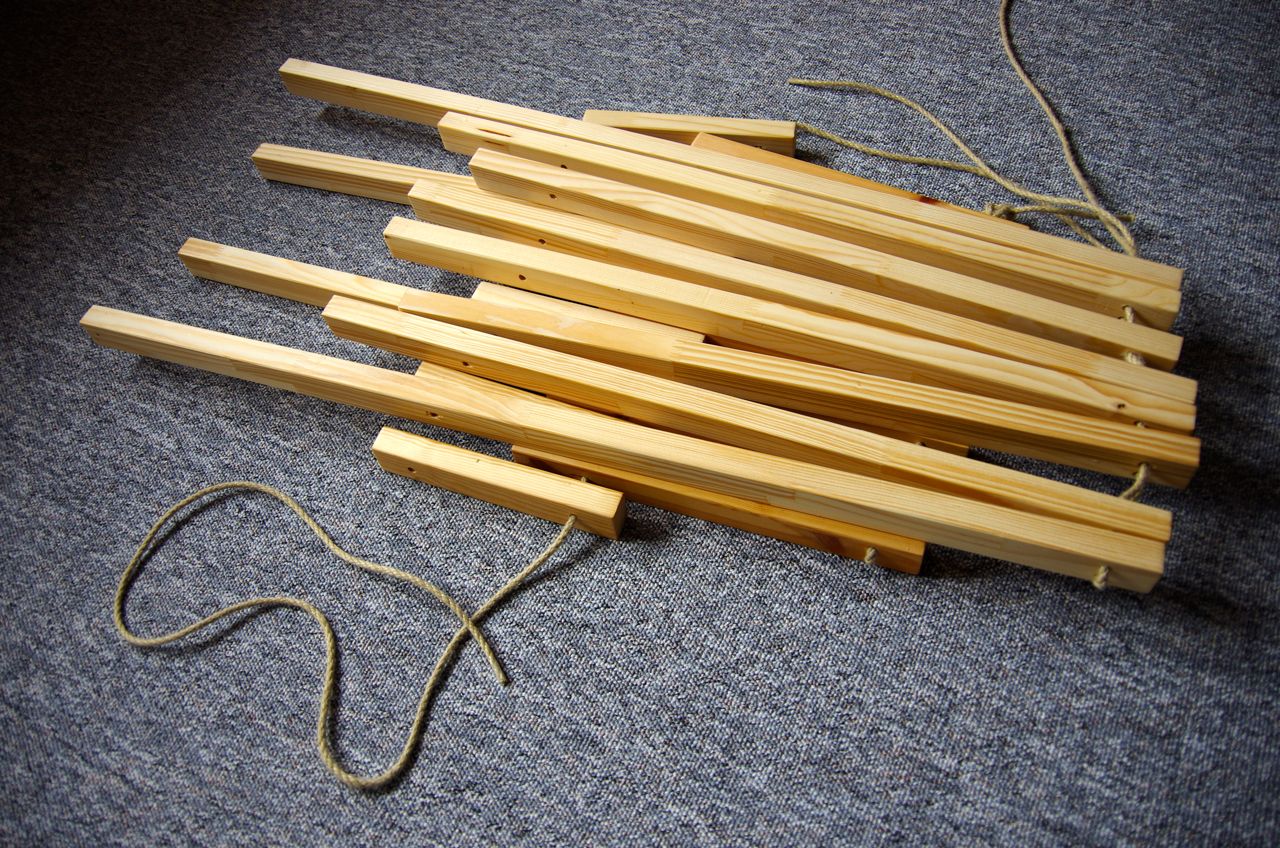
Here, the back rest lays on top of the seat and connectors.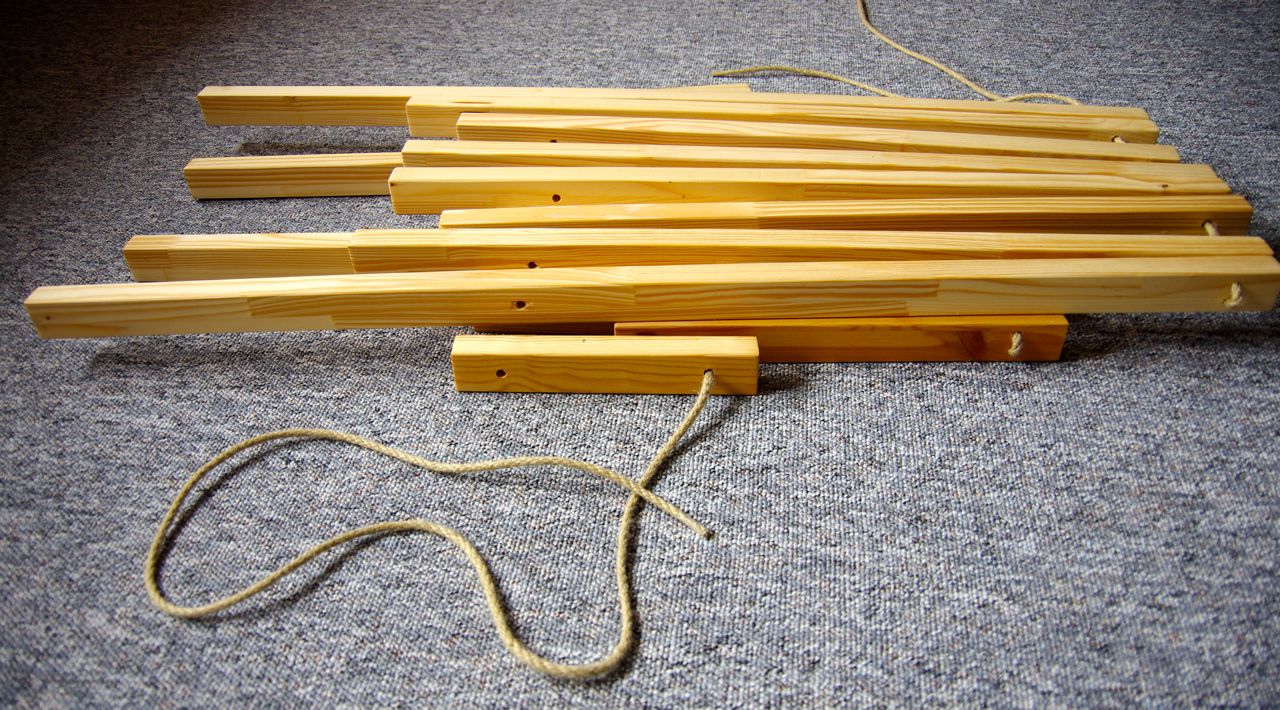
Now, take the free end of the hemp rope , turn and thread the connectors and the back pieces, starting with the connector and alternating back-connector-back-connector… you get the picture.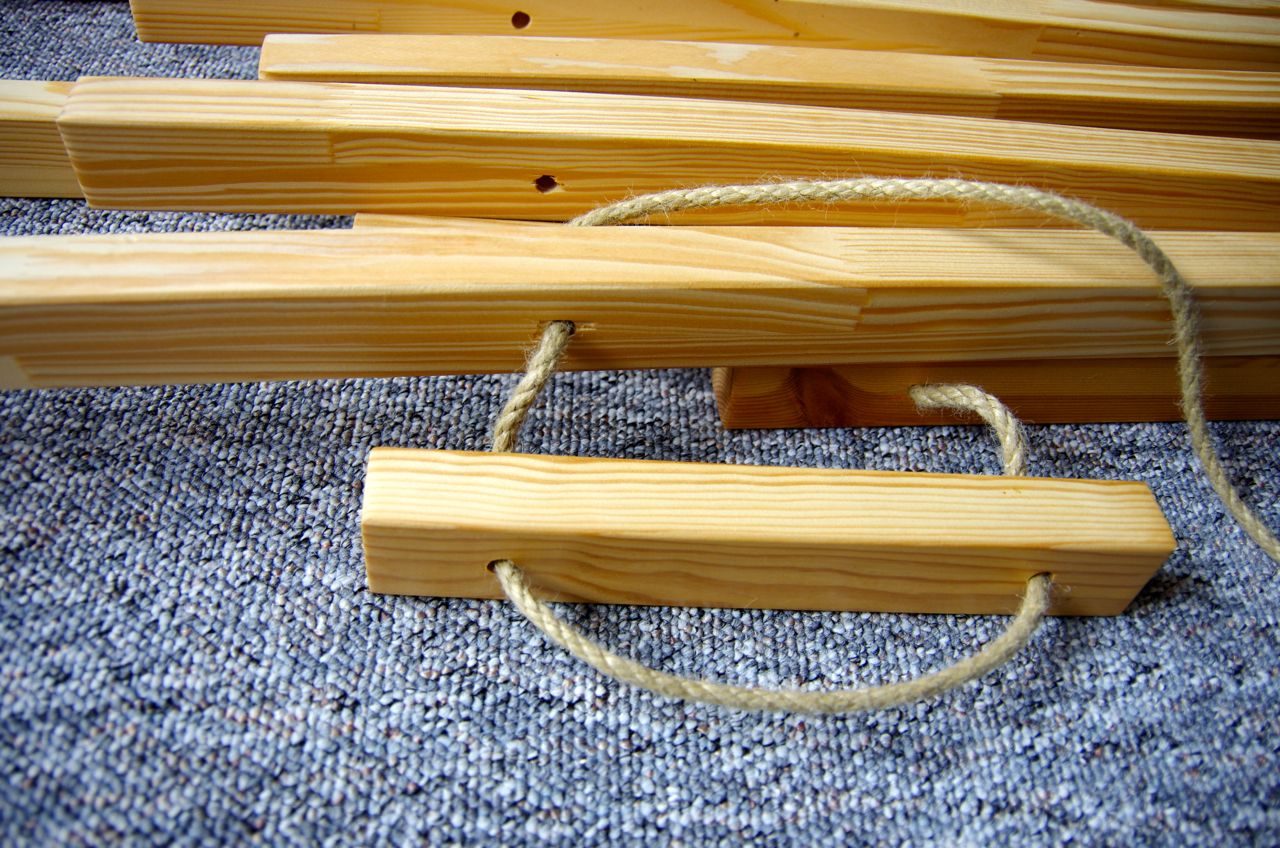
When finished, it should look like this.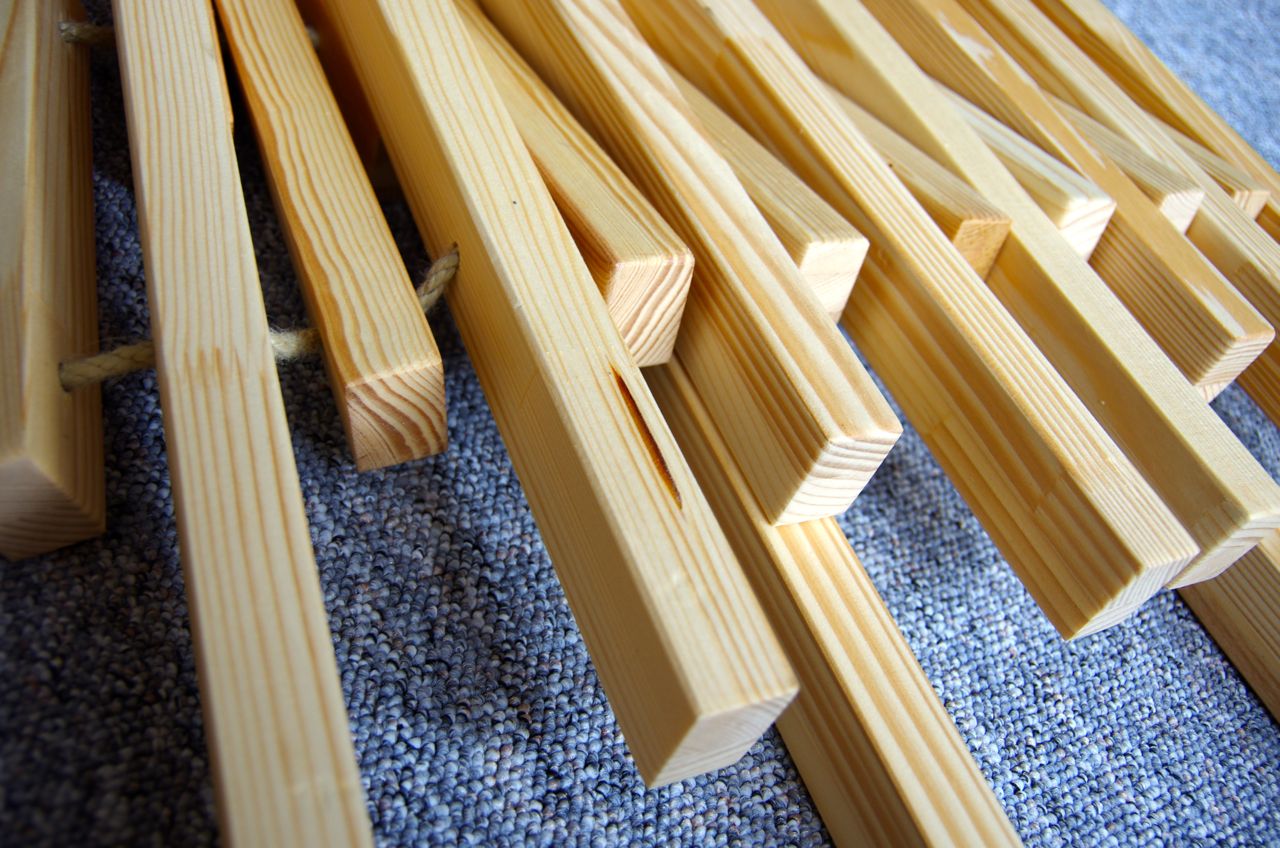

Et voila – it starts looking like a chair if you tighten the rope holding the connectors. The back and seat will line up nicely. Secure with a tight knot.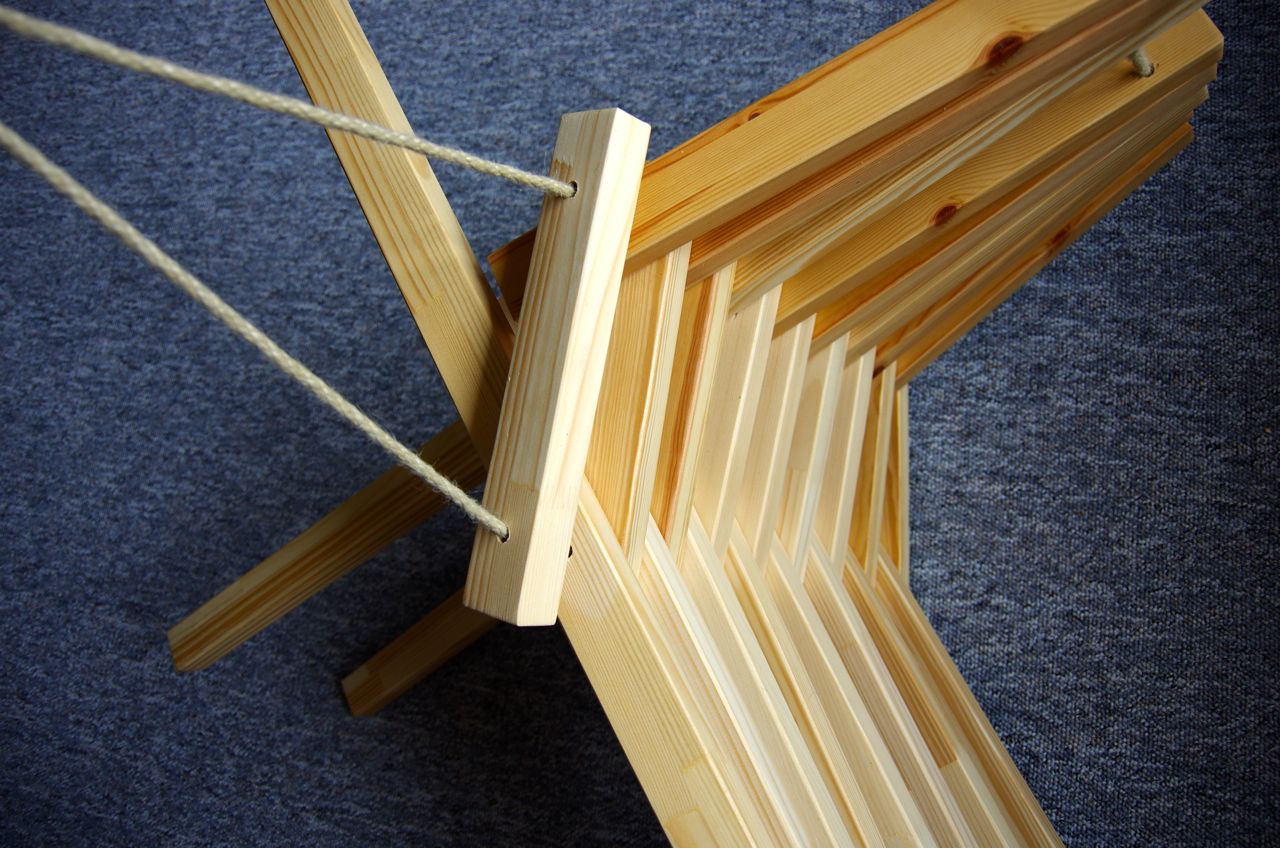
Now, what’s left is pulling the back and seat ropes tight and secure with a knot.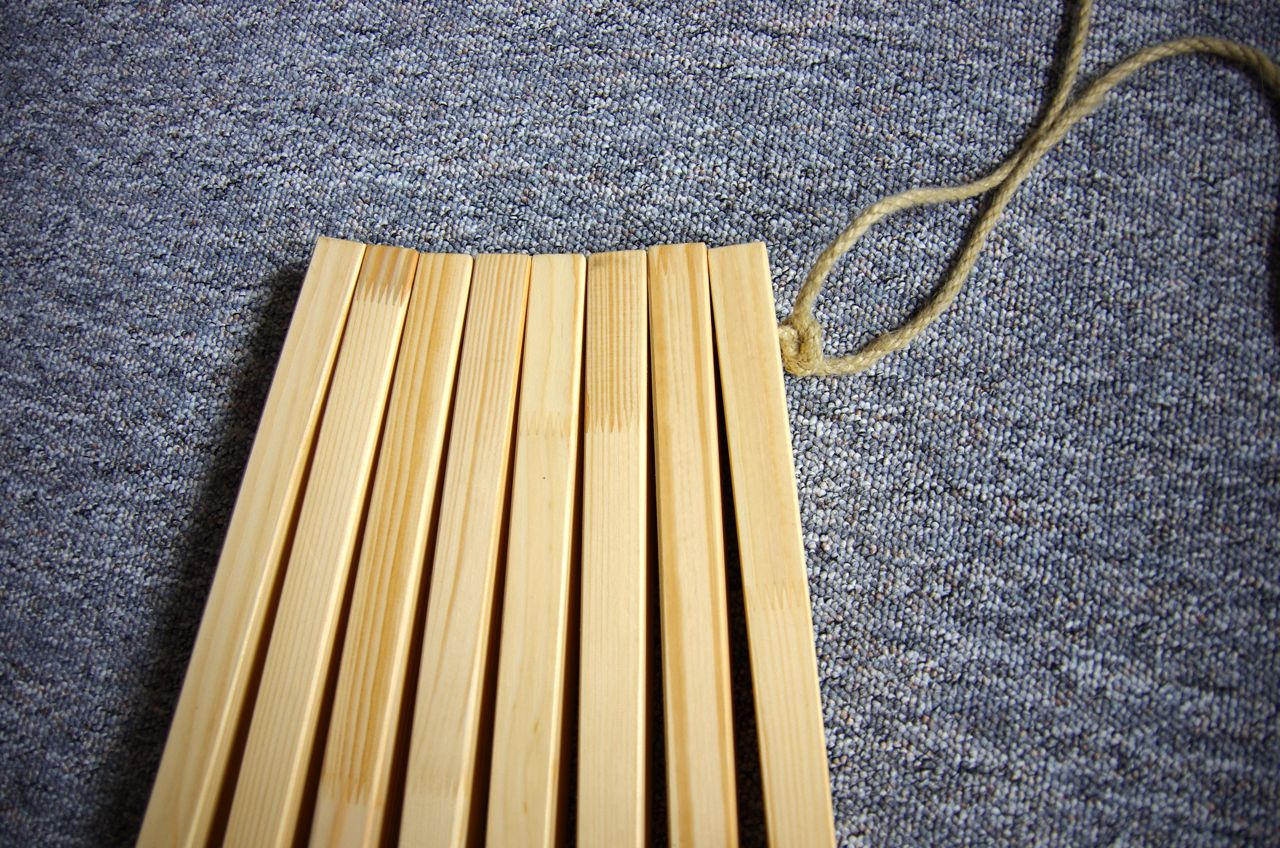
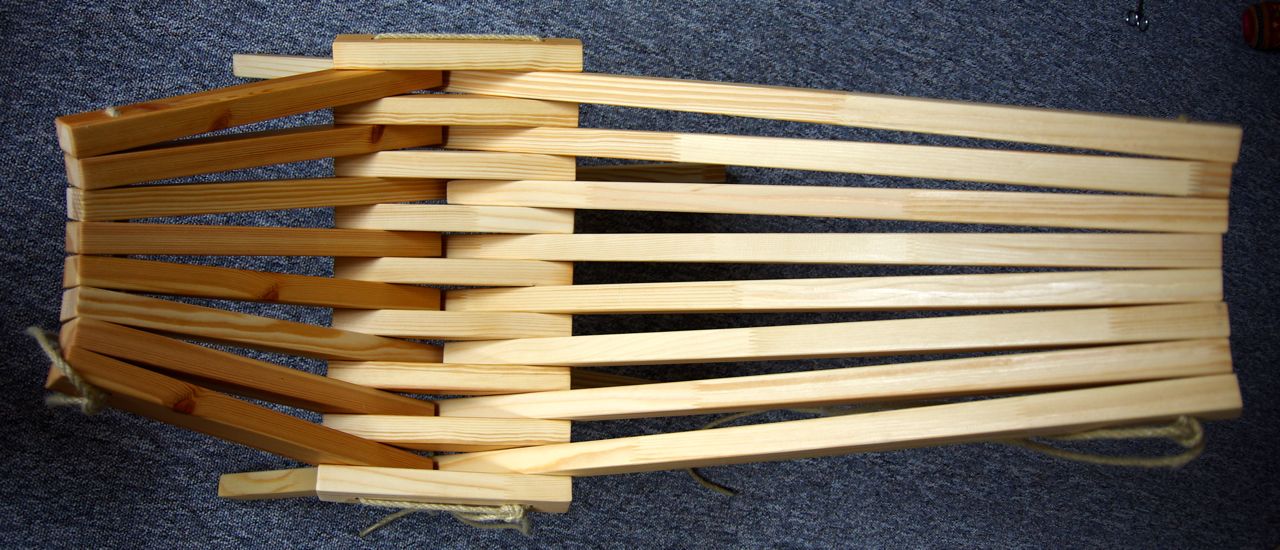
Here we go… the birth of a folded kentucky chair.
If you unfold it, you are done 🙂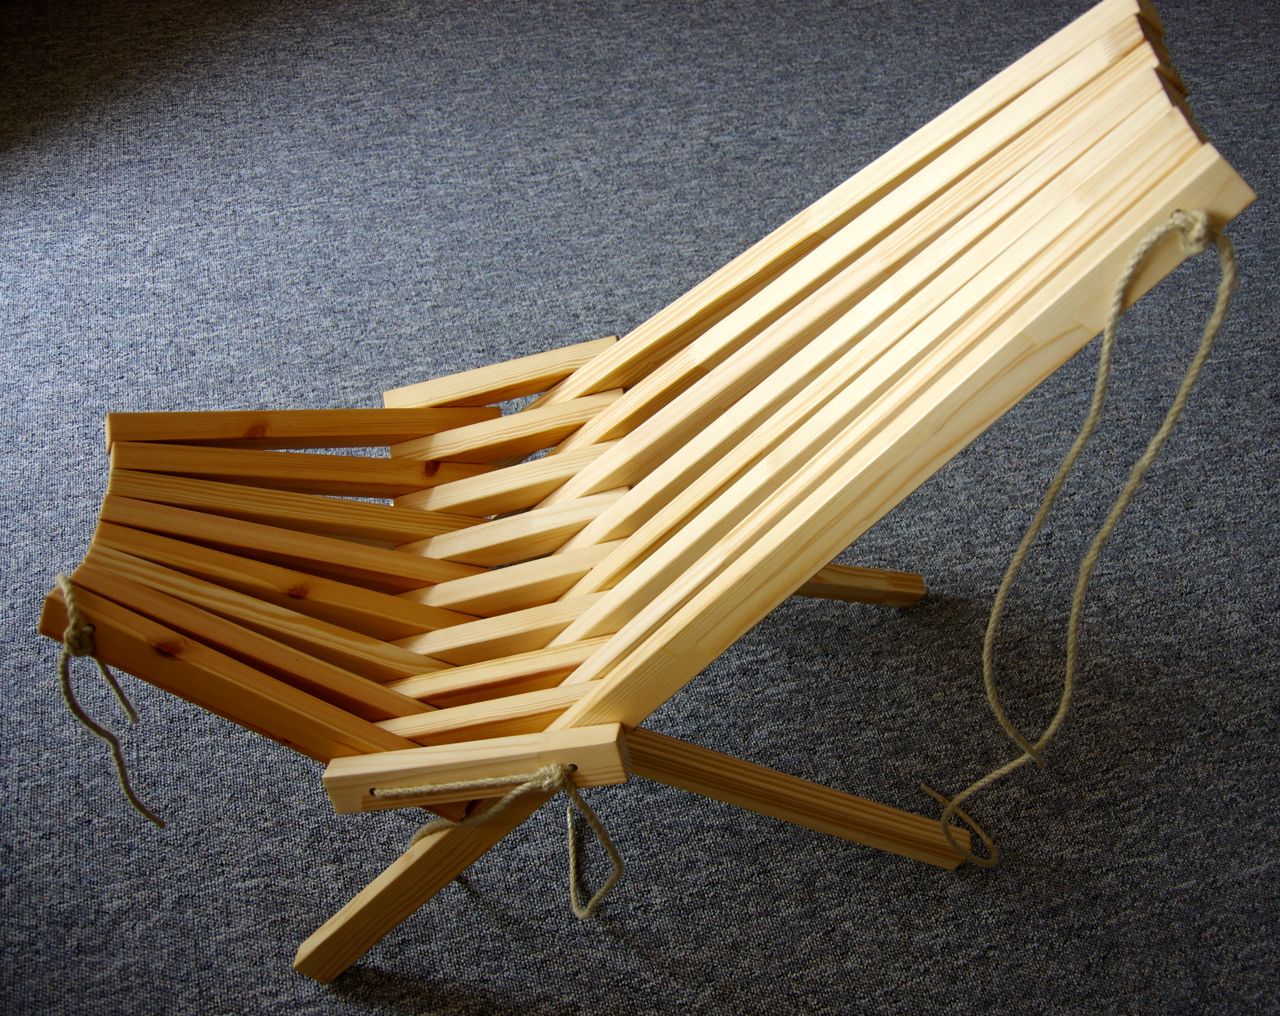
Here is the baby from above. Isn’t it lovely?
Leave a Reply